This alternative will allow you to respond to your customers, using the sticker format, on the WhatsApp channel.
|
 Please note that it is implemented through an integration in our
  Now, learn the steps to follow:
1. Send in a Service Request:
• The WhatsApp number where you need to integrate the stickers, so our support team can manage the upload to the META servers.
• The stickers to configure, each with its specific name. They must have the characteristics detailed in the table below, depending on the type, and be uploaded to the server, making sure that they are publicly visible:

|
a. Only outgoing stickers (to be sent), including static and animated ones from third parties, are allowed; incoming stickers (to be received) are not. b. Stickers are not viewable on all devices where WhatsApp is used. c. When configuring them in your responses, they cannot be combined with other complements. d. It is not possible to view the sticker format in the sandbox or test chat of the platform. e. To prevent integration issues that might prevent the sticker you added to Meta from displaying, it's recommended to re-upload the sticker within 30 days of its initial upload. After 30 days, it will expire due to Meta's policies. |
 Key Information
2. You will receive as a response in the same ticket the identifiers that you will need to use in the Studio integration.
3. Create an integration in Studio for each sticker. The process is simple:
 The flow will include a Step In node, a Function node, and a Close Step node.

In the Step in node, you will write the name you want to give to the node and select the bot where you want the integration to appear.
In the Function node, you will incorporate the JSON with the sticker identifier. The structure would be similar to the one shown below, but you must replace the data in the "param" field with the ID you received in the ticket:
|
The Step close node will indicate the completion of that flow.
 Below you can see the complete example of the integration in Studio.
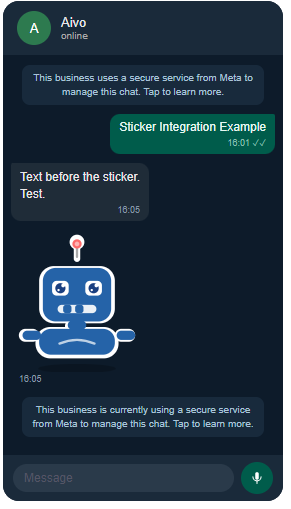
4. Finally, you will add the integration you created as a complement to your response on the Virtual Assistant platform. The result in the WhatsApp conversation window will be similar to that shown in the following image.