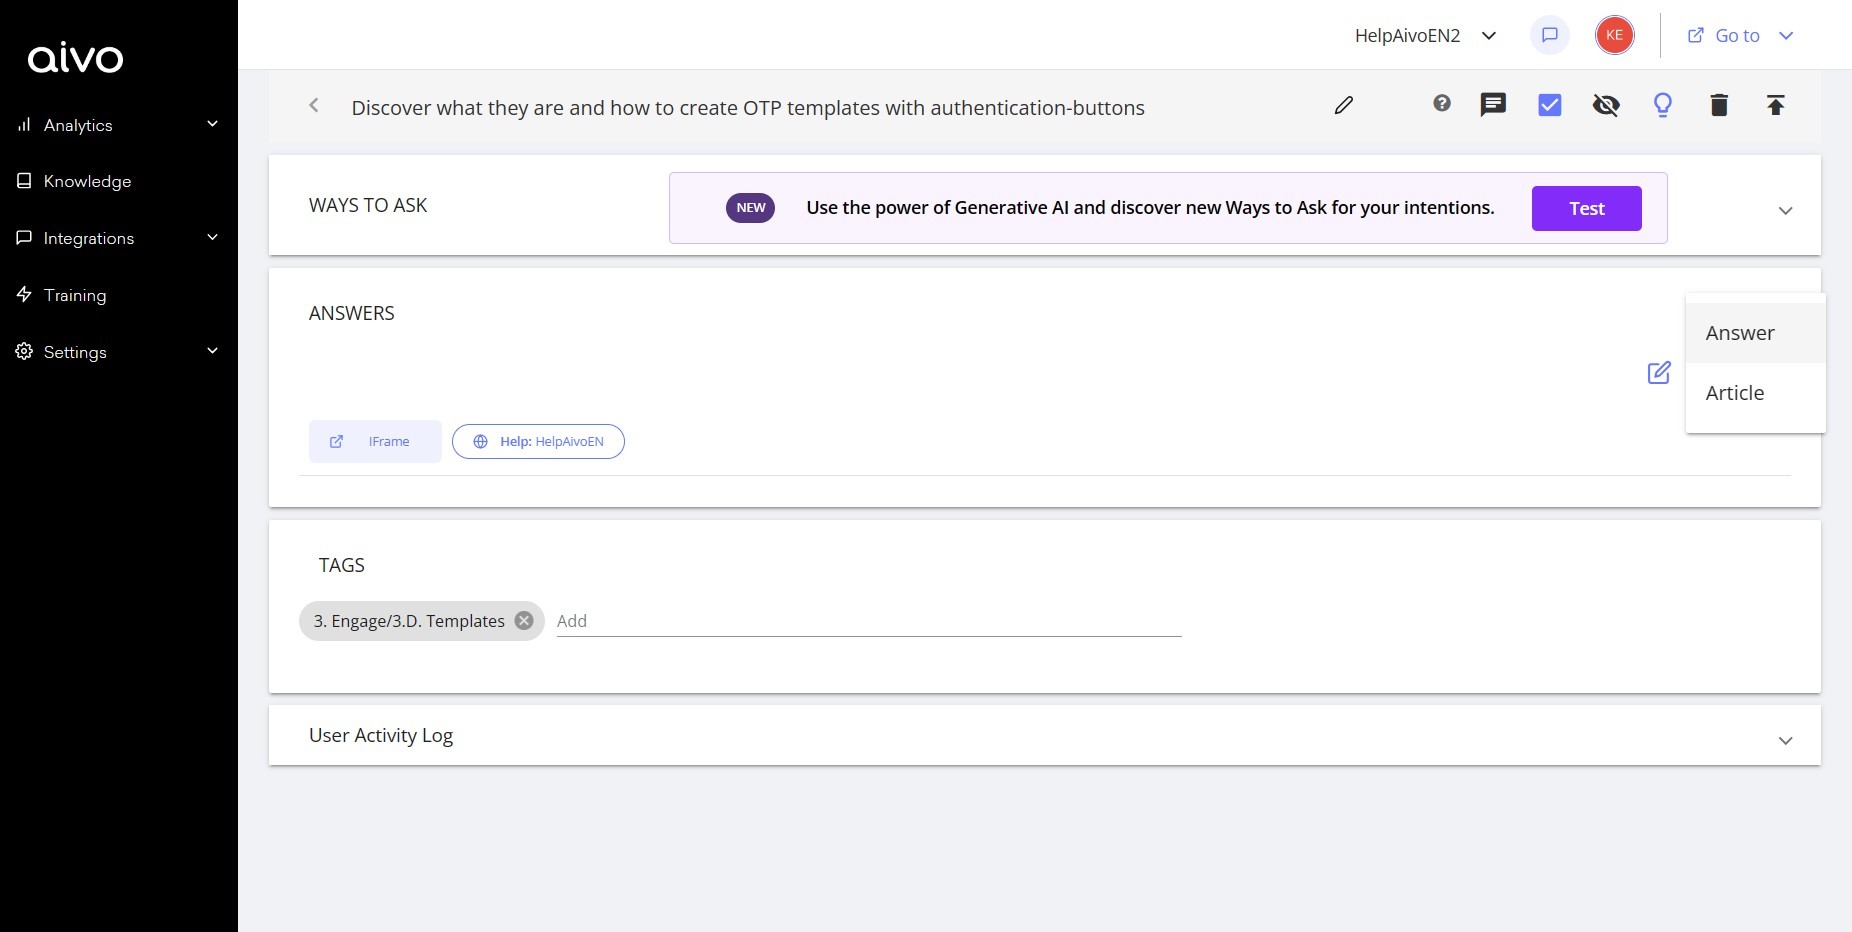
Once you create an intent you will be able to assign a response or article to it. You will notice that when you hover the cursor over the "Add" button a menu will pop up to select "response" or "article".
Articles can have a more extensive content than answers and serve to form your knowledge base, that is, a space with a set of information for consultation by your customers or internal users.
In an article you can develop, for example, instructions, user manuals, incorporate the most frequently asked questions of your content, solve common problems, among other uses.
Clicking on the "article" option will open a text editor, where you can choose the font, color and size for your text. You can also incorporate tables, images, numbering, bullets and emojis to make your content more attractive and complete.

On the other hand, to add plugins such as an embedded page, buttons or incorporate the carousel plugin, you will have to use the "reply" mode instead of "article". Remember to select the Help channel from the "Channels" tab so that the information is published in your knowledge base.
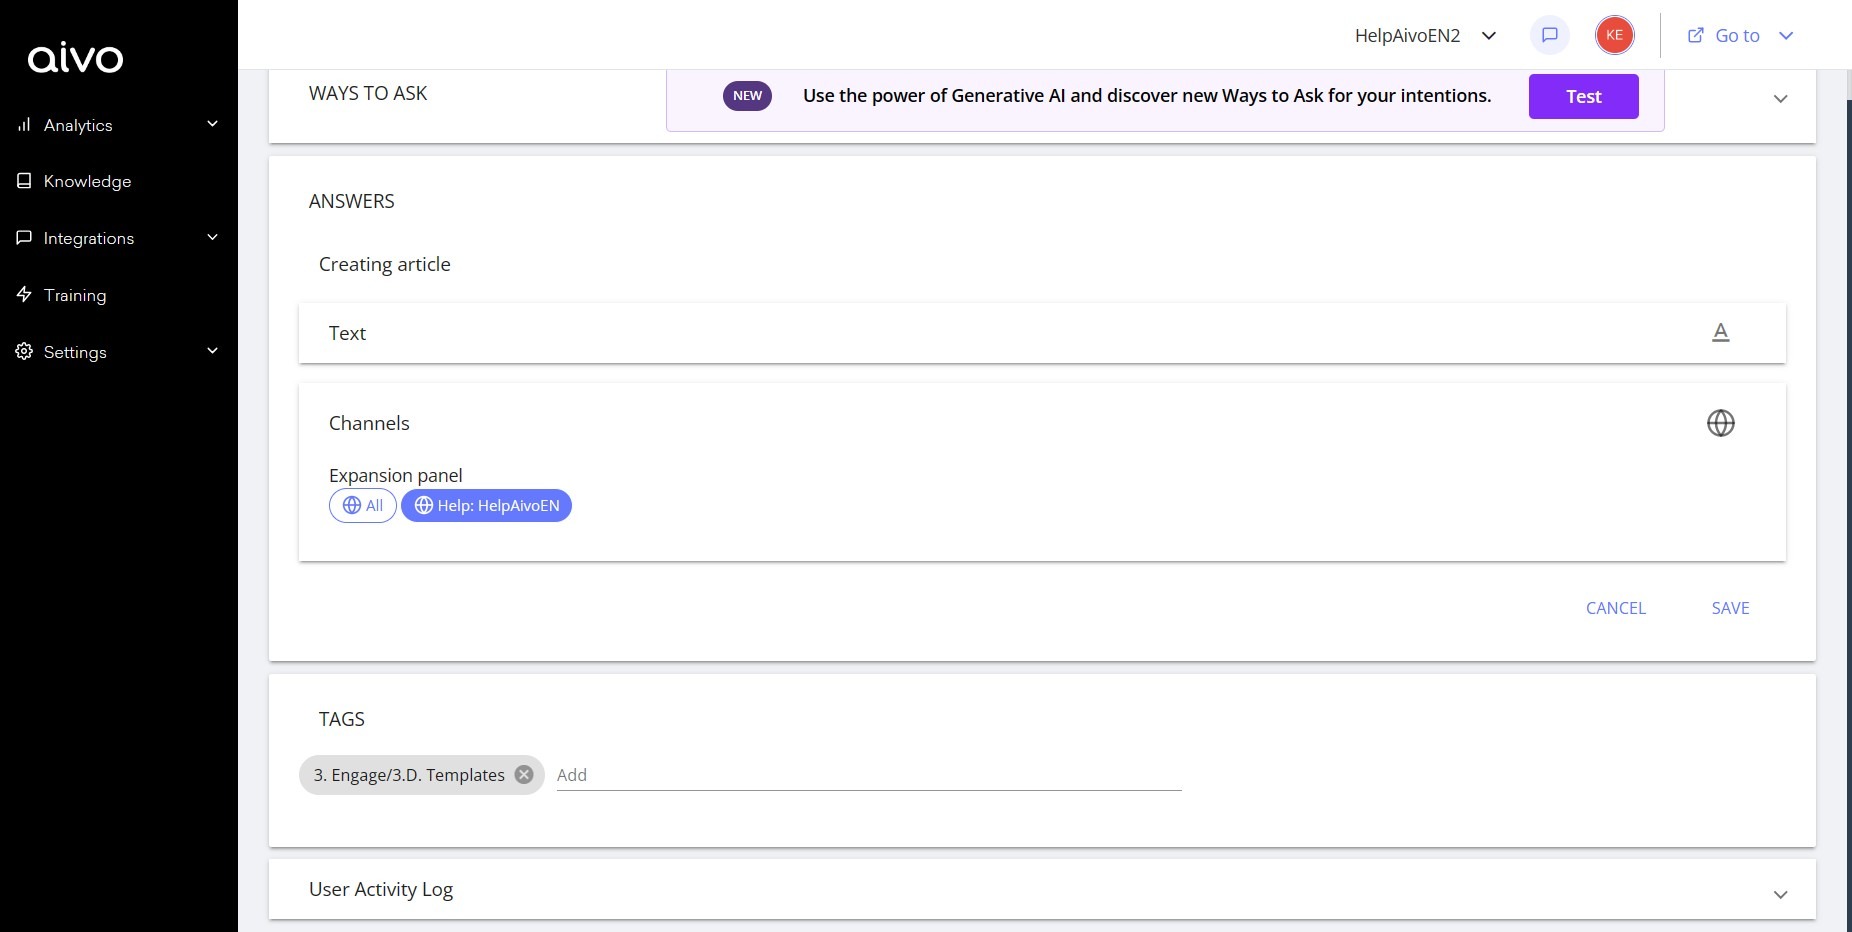
Each article must be assigned a condition, which will impact the place that the document occupies within Help. According to the assigned tag and knowledge base, it will be given a url that corresponds to a direct link to that article.