When you enter a conversation, you’ll be able to view the contact’s key information:
- The customer’s name, if they’re registered, or the word “Unknown” if not.
- The group to which the conversation was routed, which helps guide the customer service experience.
- The first line of the routing text.
- The icon for the channel through which the customer is communicating.
- And a timer showing the time elapsed since the referral.
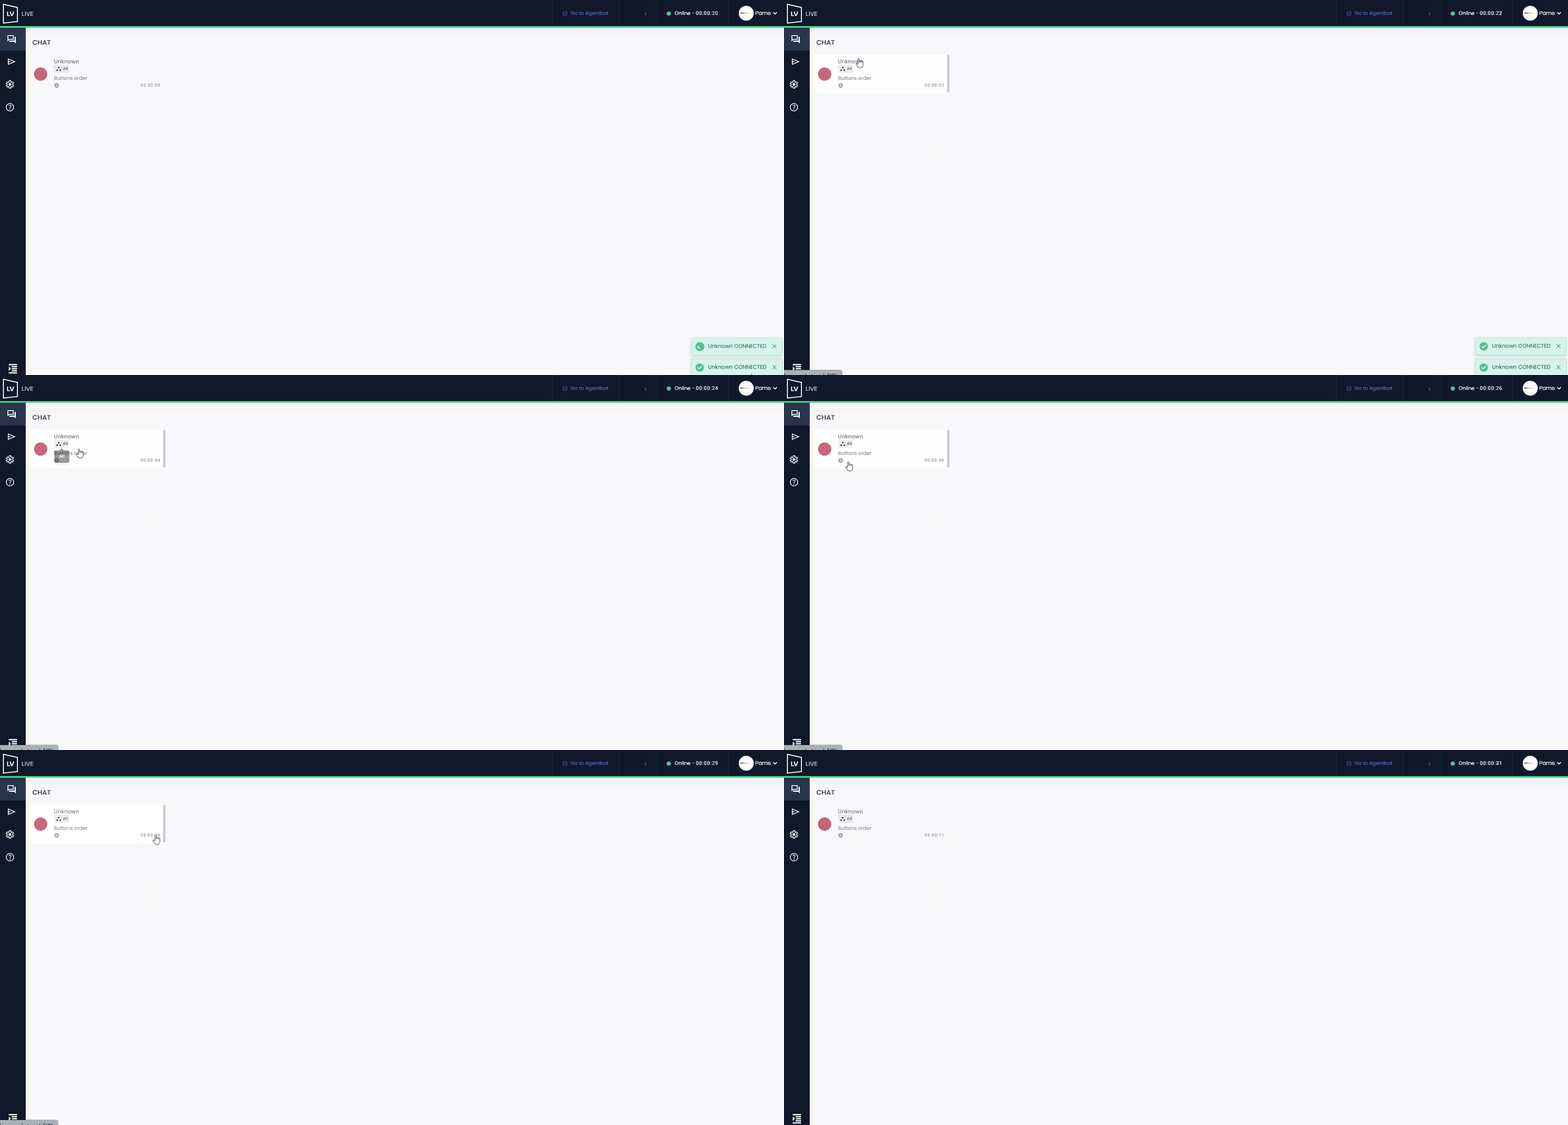
Within the conversation, you’ll see the customer’s name and contact channel again.
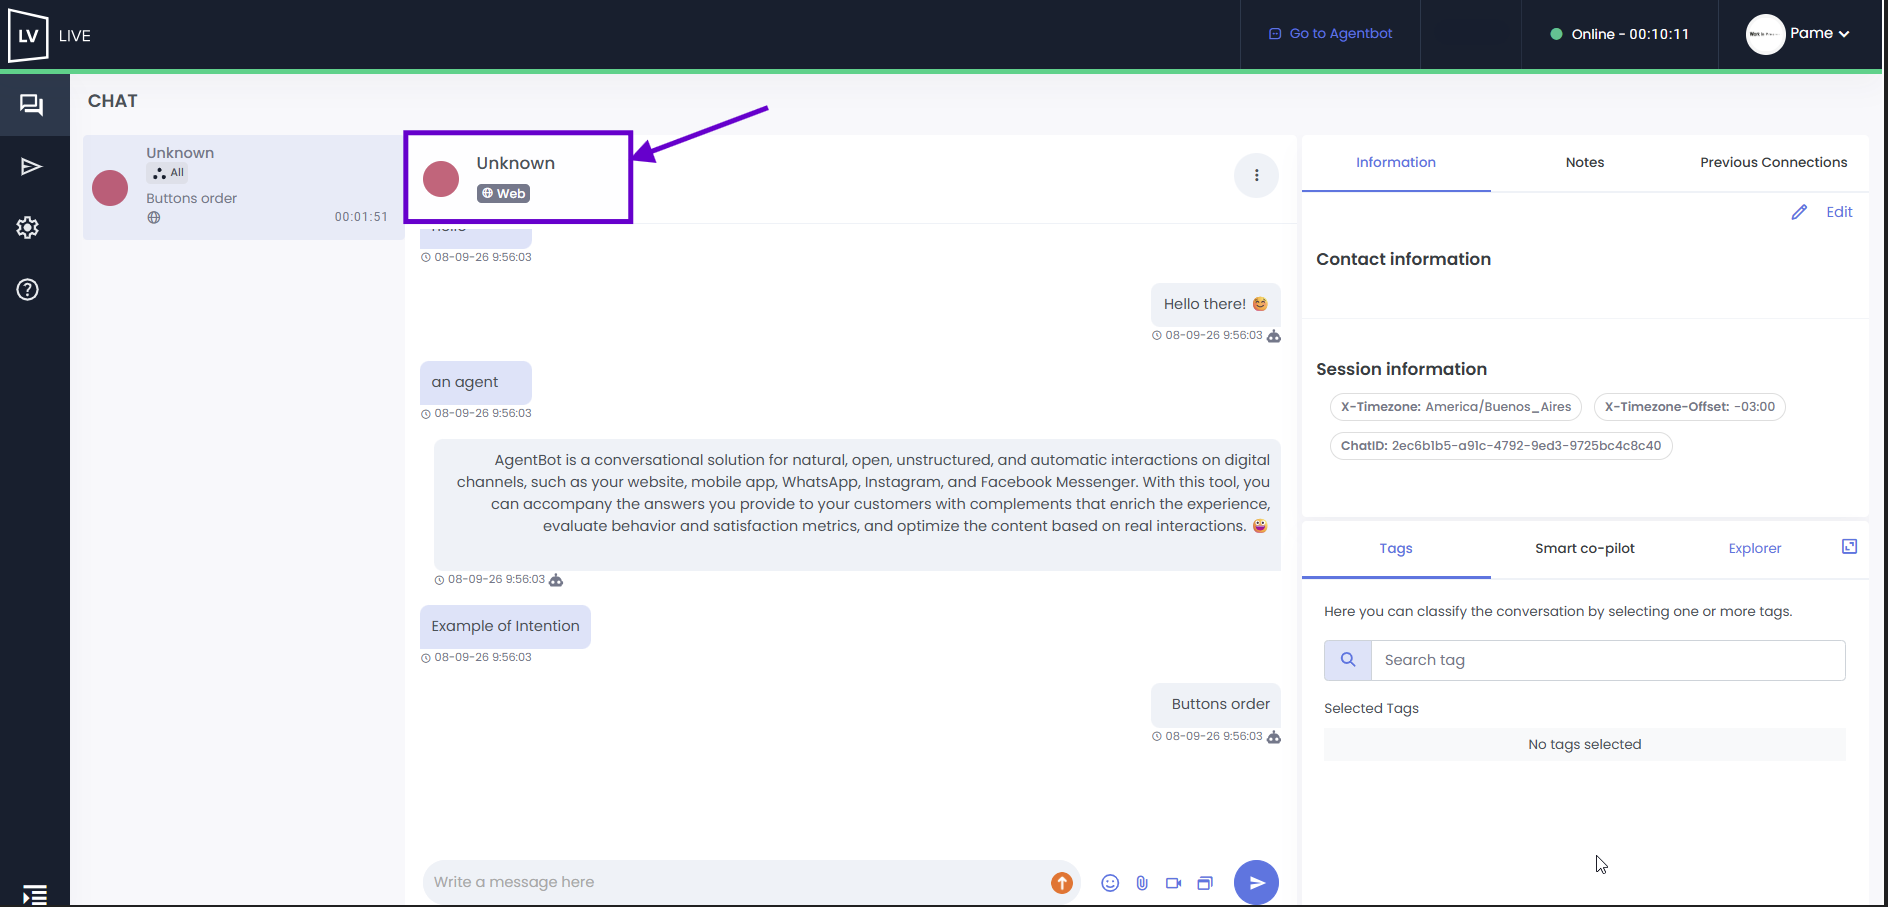
While handling the inquiry, you can access the customer’s information, first name, last name, email, and phone number, in the right-hand sidebar. If the customer is new and this information is not yet available, the fields will appear blank.
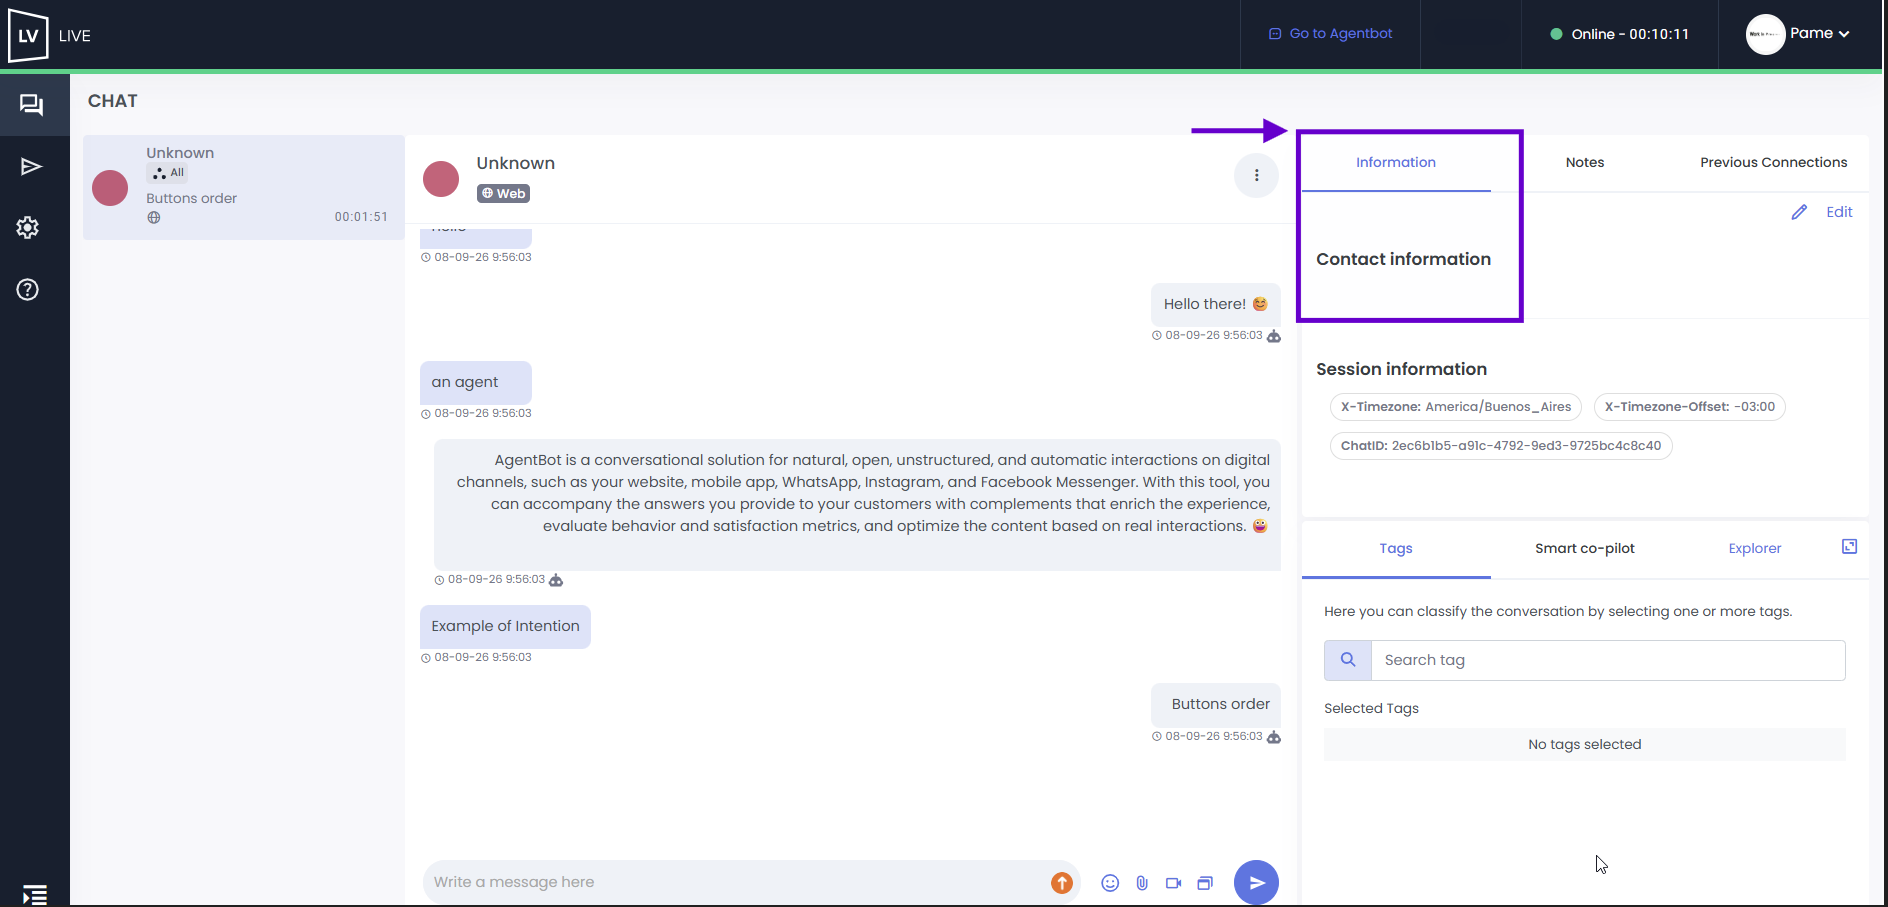
Using the “Edit” option, the agent can fill in or modify this information, or leave it blank if necessary.
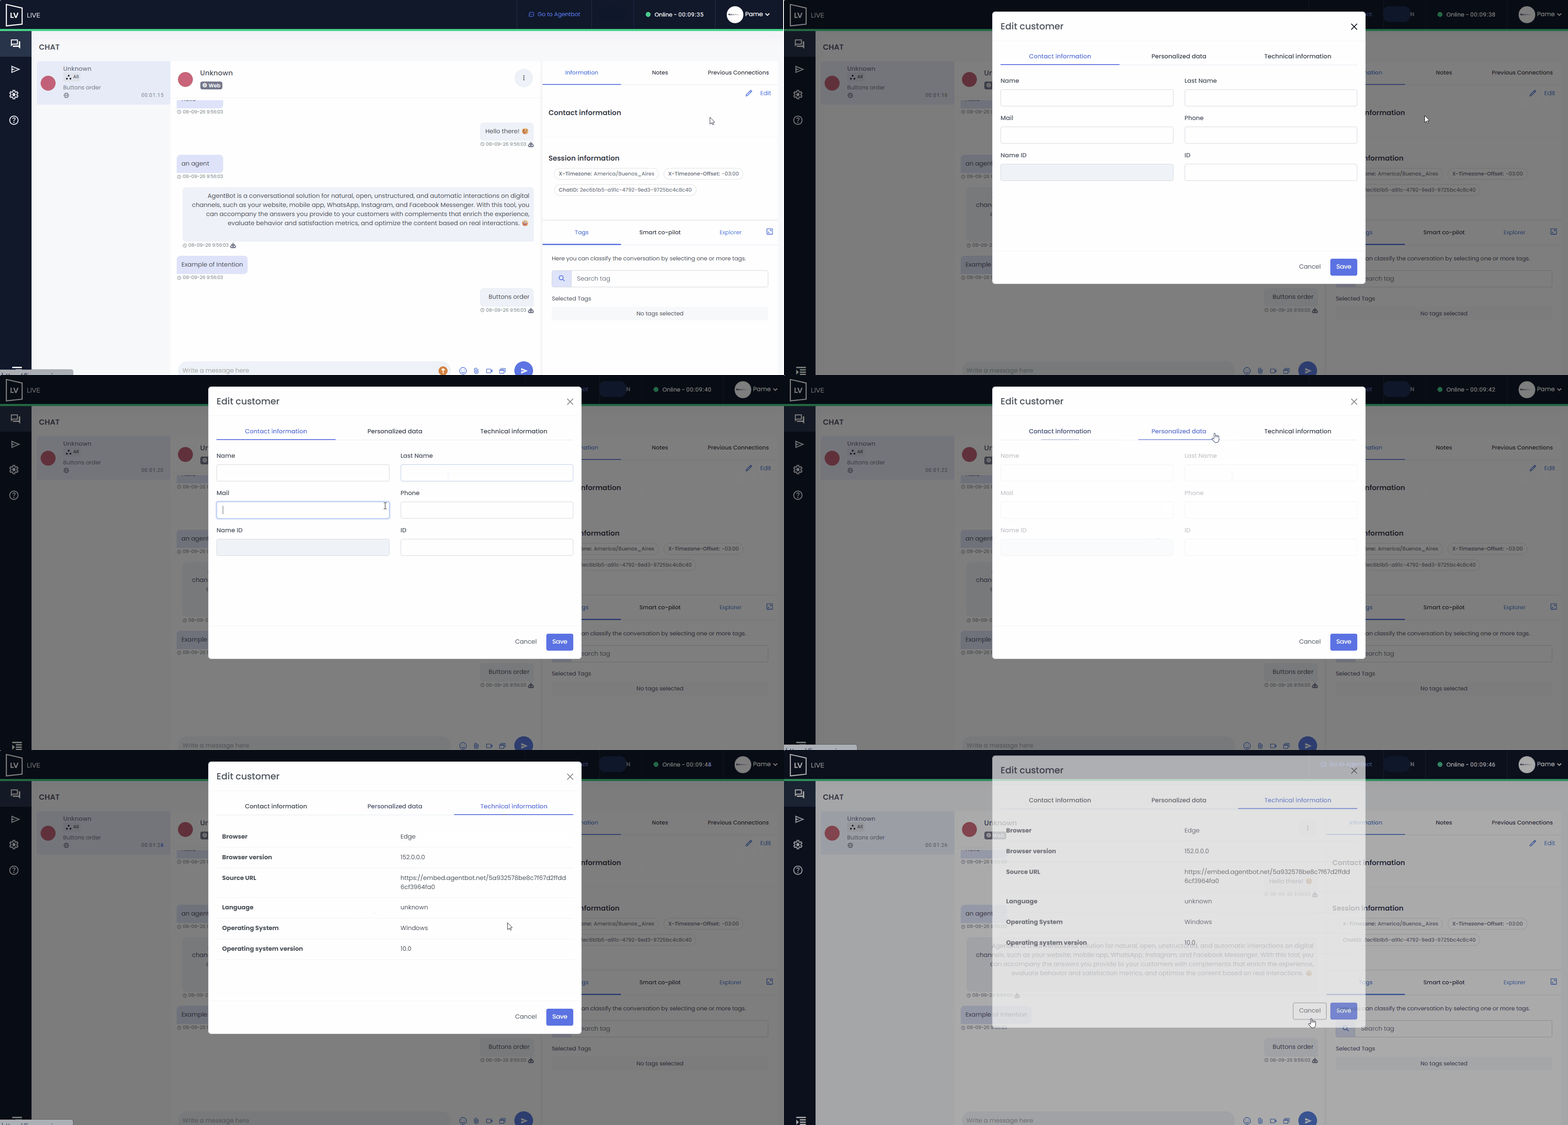
 On Facebook Messenger, Instagram, and WhatsApp, the user’s name will be displayed based on the information they have provided on those platforms. In addition, the customer’s profile picture thumbnail will appear if the image is publicly visible on these channels. If the email or phone number field matches the information in the database, the corresponding details will appear.
In WhatsApp sessions, the “phone number” field will be automatically filled in with the corresponding conversation number. If there is a discrepancy between any of these fields, you can ask the agent to update the fields with the correct information using the “Edit” option.
In WhatsApp sessions, the “phone number” field will be automatically populated with the corresponding conversation number. If there is a discrepancy between any of the numbers, you can ask the agent to update the fields with the correct information using the “Edit” option.
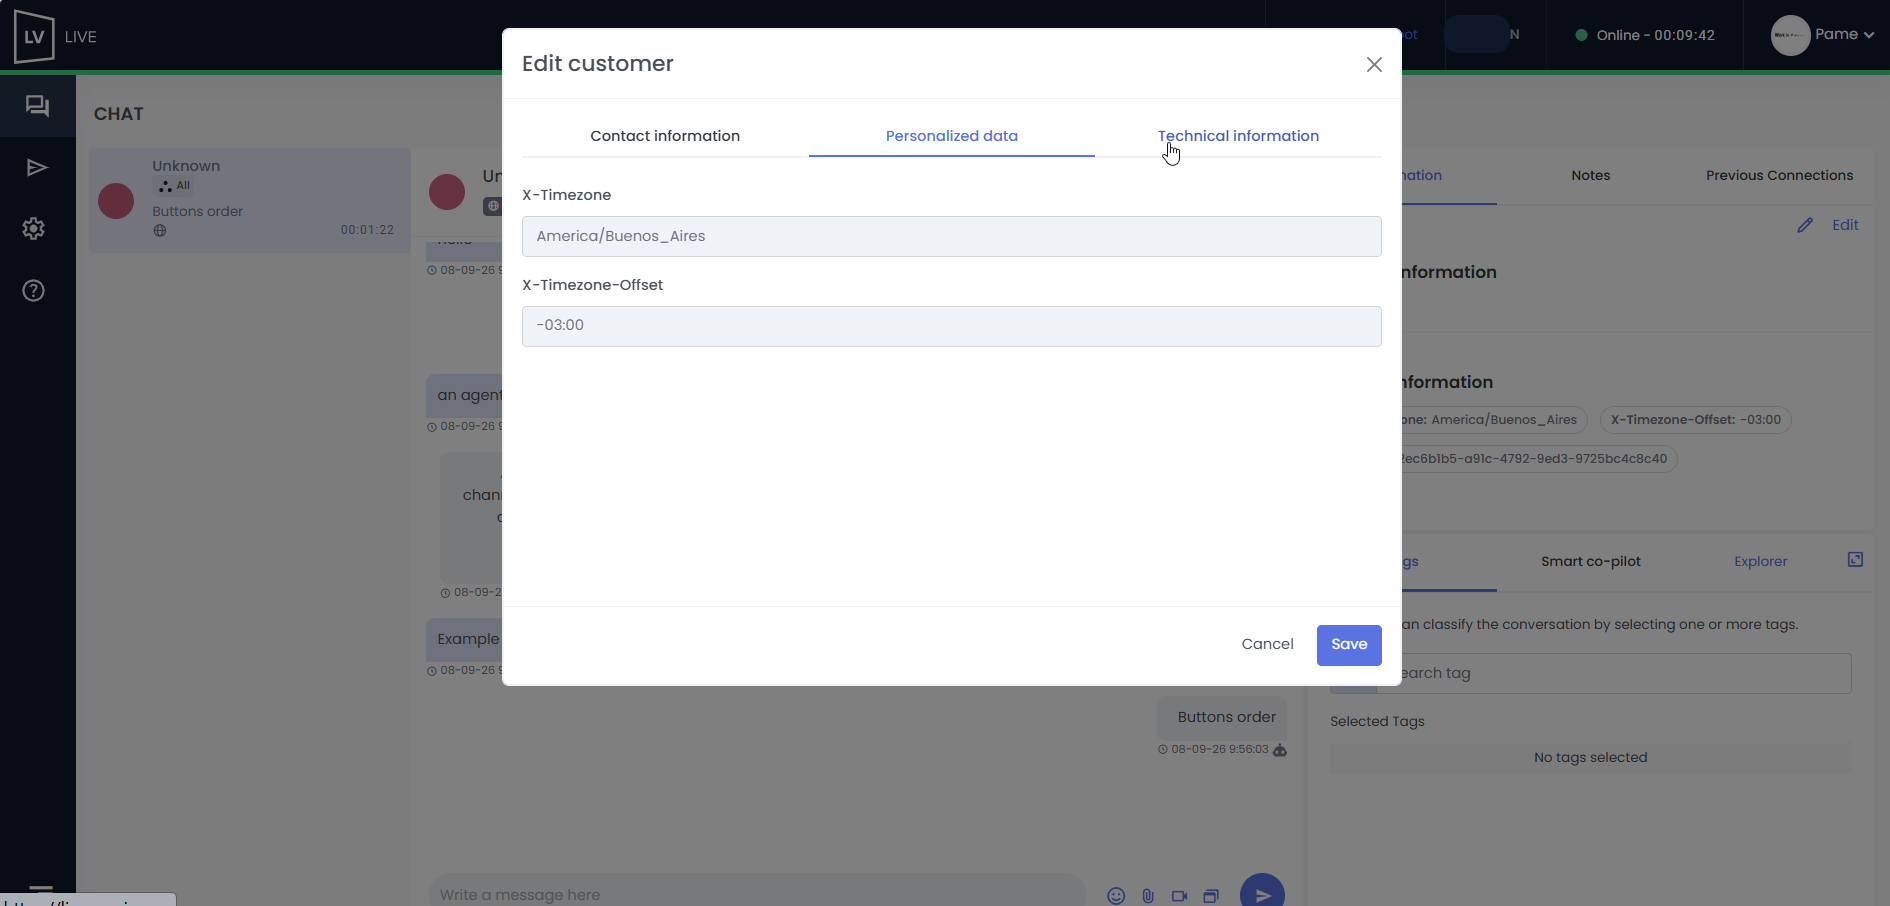
 Key Information
a. You can include a form before the request is routed to an agent, that asks the customer for their first name, last name, email, and phone number. This way, you’ll have this information available when assisting the customer to register them and merge the data with previous contact records.
b. You can also add custom fields, such as Channel, URL, Country, City, etc., depending on your company’s needs.
c. If you need to implement the pre-routing form or add custom fields, submit a request through the Support Center.
d. Once configured, you’ll see the details within the conversation under “Contact Information” in the “Custom Data” section.
e. These customized fields cannot be exported.
 Customer information can be downloaded from the “Clients” section.